Well, friends, once again I’ve left this space feeling lonely and neglected. No excuses, other than work and children and life. Where once this was my escape, now it sits forlorn, waiting.
I suppose everything has its season, and maybe the season for this blog has past. I don’t know. I think I’ll keep it around for days like this, when inspiration hits, and I have something worth sharing.
This recipe for Momofuku Milk Bar’s Crack Pie(r) has been floating around the interwebz for a few years now. I have to say I didn’t really pay it any mind until Bon Appetit featured it a couple of months ago. And then, a few days ago, they went and ran a piece on Desperation Pies making a comeback.
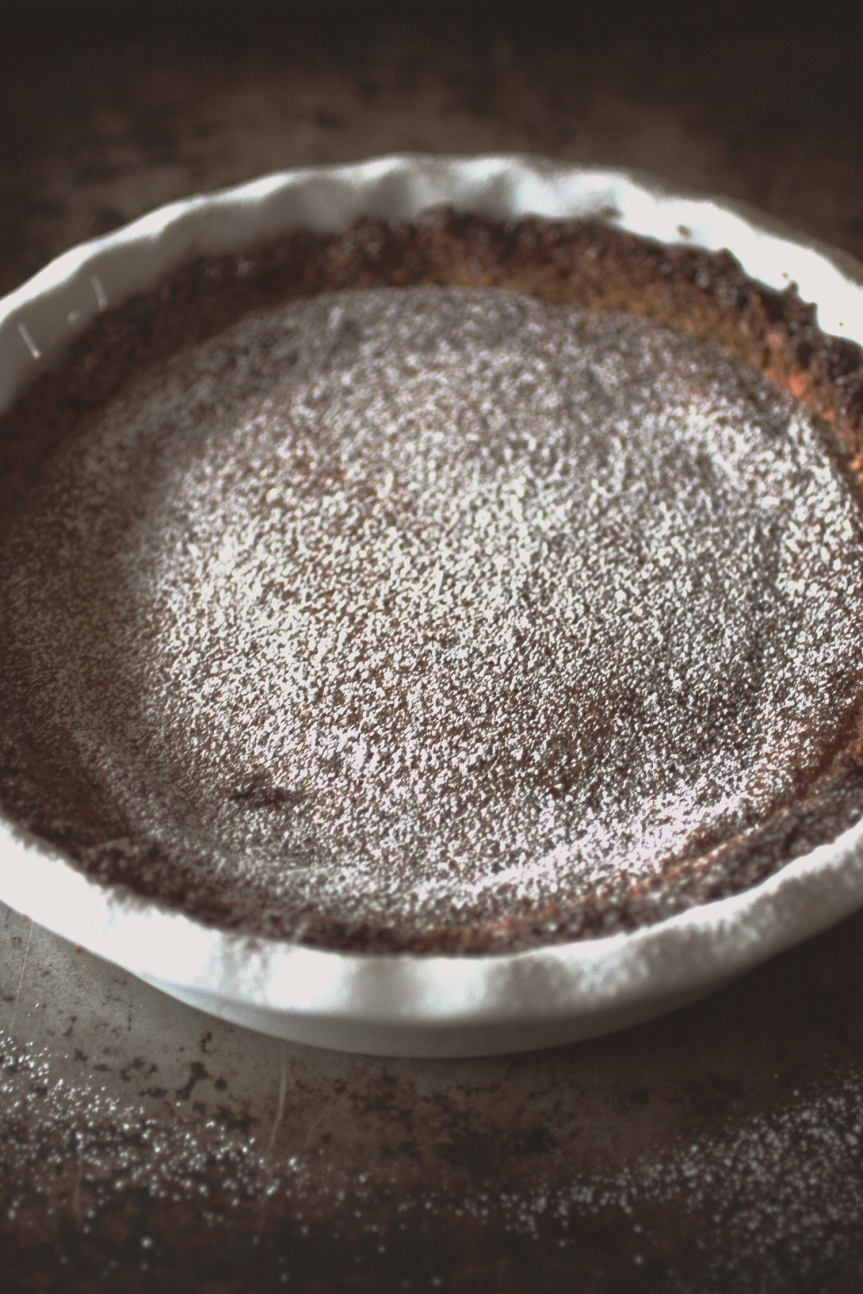
And so, that’s where the idea for this crazy marriage between buttermilk chess pie and crack pie was born. It’s a little bit salty, a little bit tangy, and a lot sweet – just the way I like it. The only thing I can find wrong with this recipe is the fact that you have to wait overnight to dig into the finished product (I, of course, couldn’t wait and tried cutting it while it was still warm. It was a delicious ugly mess).
It was so good, it brought me back to this space so that I could share it with you.
Ingredients
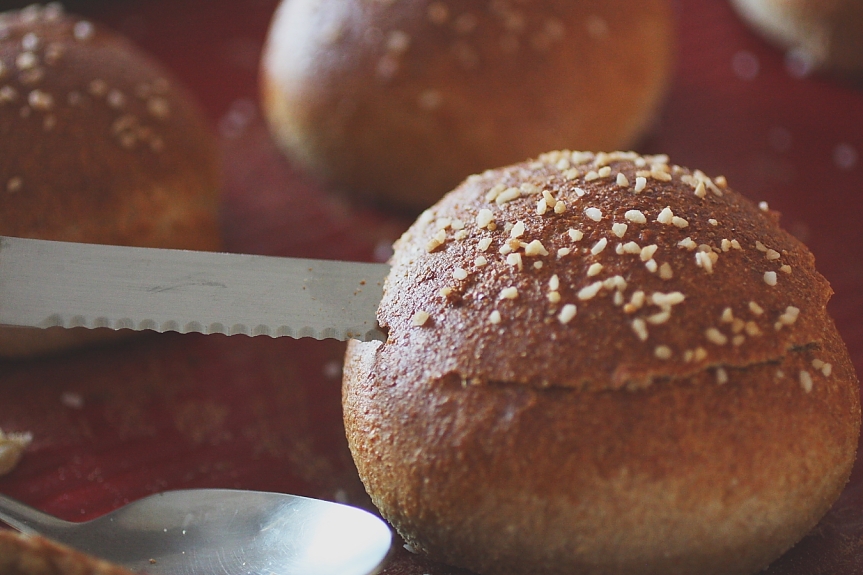
Oat Cookie Crust
- Nonstick vegetable oil spray
- 9 tablespoons (1 stick plus 1 tablespoon) unsalted butter, room temperature, divided
- 4tablespoons (packed) golden brown sugar, divided
- 2 tablespoons sugar
- 1 large egg
- 3/4 cup plus 2 tablespoons old-fashioned oats
- 1/2 cup all purpose flour
- 1/8 teaspoon baking powder
- 1/8 teaspoon baking soda
- 1/4 teaspoon (generous) salt
Filling
- 3/4 cup sugar
- 1/2 cup (packed) dark brown sugar
- 1 tablespoon nonfat dry buttermilk
- 1/4 teaspoon salt
- 1/2 cup (1 stick) unsalted butter, melted, cooled slightly
- 4 tablespoons sour cream
- 1 1/2 tablespoons milk
- 4 large egg yolks
- 1 teaspoon vanilla extract
- Powdered sugar (for dusting)
Begin by making the oat cookie crust. Preheat oven to 350F and line a 13x9x2 inch metal pan with parchment paper sprayed with non-stick cooking spray. Place 6 tablespoons butter, 4 tablespoons brown sugar and 2 tablespoons white sugar in the bowl of an electric mixer fitted with a paddle attachment. Cream on high for 2 minutes. Add egg and beat until light and fluffy, occasionally scraping down sides of bowl. Add oats, flour, powder, soda and salt and mix to combine. Pat dough into prepared pan, spreading evenly, and back at 350F for 17-18 minutes. Remove from oven and allow to cool completely on a cooling rack.
 Crumble cookie as finely as you can, and work the remaining 3 tablespoons of butter into the crumbs so that when you squeeze them together they form a ball. Press cookie crust into a deep-dish pie pan. Prepare filling.
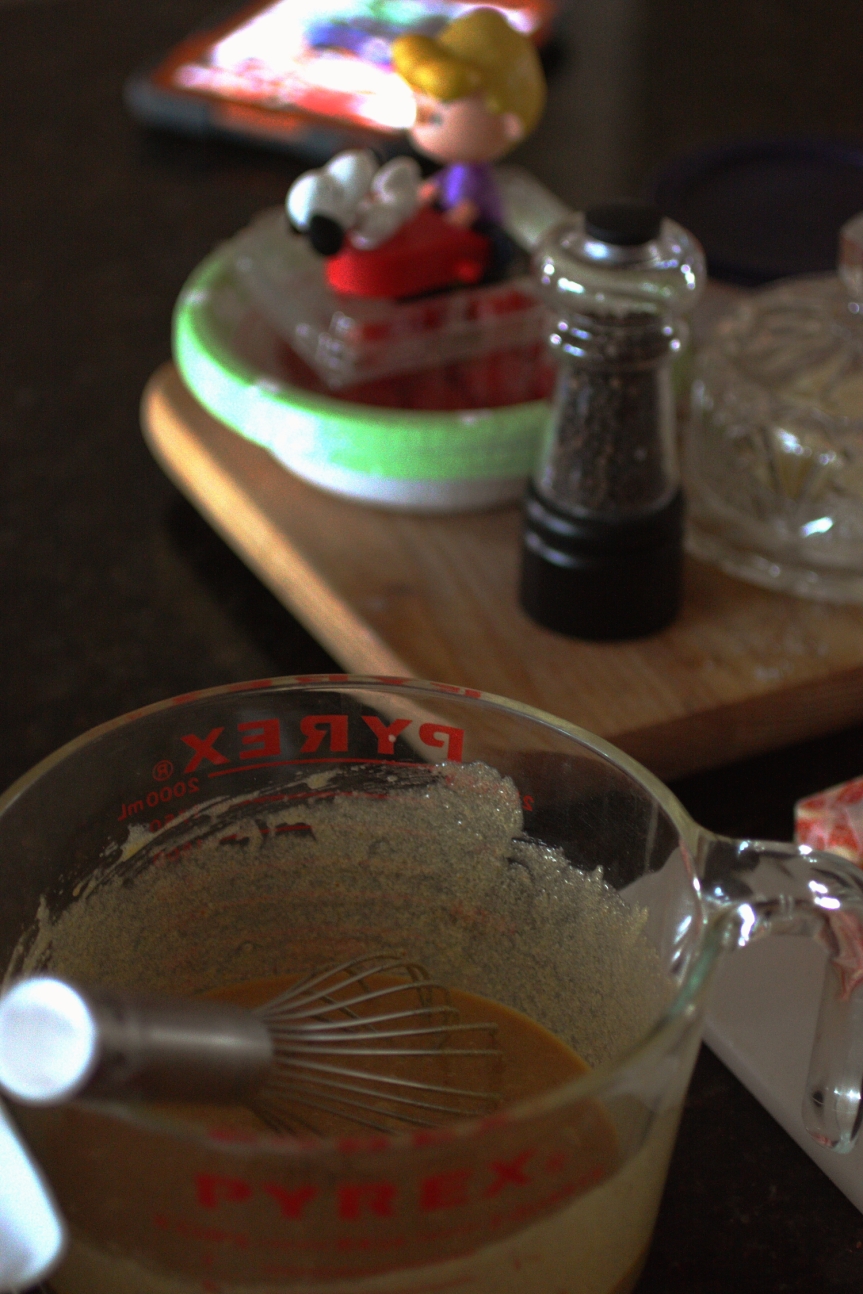
For the filling, combine sugars, buttermilk powder and salt. In another bowl, combine the sour cream, milk, melted butter, egg yolks and vanilla. Pour over sugar mixture and stir thoroughly to combine. Pour filling into prepared pie shell and place on a rimmed baking sheet. Bake at 350F for 30 minutes, then reduce oven to 325F and bake for 20 minutes more (or until filling is mostly set). If the edges start to get too brown, shield with foil.

Remove pie from oven – the center may be a little loose still (it will continue to set up). Allow to cool to room temperature.
 Dust with powdered sugar. Place, uncovered, in the refrigerator for 24 hours to rest.
  Enjoy!